
Table of Contents
- What are Content Elements?
- Working with Content Element Holders
- Editing Editable Content Elements
- Content Elements Explained
- Related Articles
What are Content Elements?
-
Content Elements hold the information displayed on a program brochure
-
Each content element holds a unique type of content, like text or an image
-
Cross content is usually not allowed by the system, i.e: a “text” element will not hold an image
-
-
While some elements allow edits to its content, not all elements do
-
Elements that allow content editing will have a “pencil” icon on the bottom right
-
Working with Content Element Holders
-
Content element holders are placed within the sections of a brochure.
-
They can be rearranged, resized, and/or removed within its section.
-
To rearrange, simply click and drag the content element
-
To resize, click one of the sides or corners of the content element
-
To remove, click the pink 'X' on the top right of the content element
-

Caution: be careful when removing a content element! Once removed, changes made to that element will be deleted.
-
If needed, more content element holders can be added to a section
-
To add new holder, click the pink '+' icon on the bottom right of the section
-
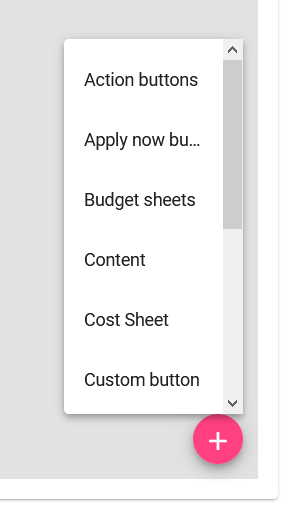
- Content holder types include, but are not limited to:
| Action buttons | Not editable |
| Apply now button | Not editable |
| Budget sheets | Not editable |
| Content | Editable |
| Custom button | Editable |
| Dates/deadlines | Not editable |
| Google Maps | Some editing |
| Image | Editable |
| Information sheet | Some Editing |
| Video | Editable |
-
Other content types exist but are not being used at this time
Editing Editable Content Elements
- Content elements that allow content editing will have a red “pencil” icon on the bottom right
- To edit, click the "pencil" icon to toggle the element’s edit mode
- While in edit mode, the "pencil" icon will change to a red "check" icon
-
When completed, make sure to click the "check" icon to finalize the changes.
Content Elements Explained
- Action Buttons is a combination of the Apply Now and the Request Info buttons
-
The Action Buttons are not editable

-
The Apply Now button allows users to start an application for the program
-
If the program is not open for applications, the Apply Now button will change as follows
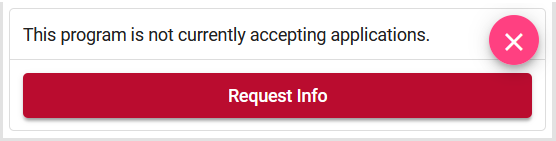
-
The Request Info button allows users to request information about the program directly from the program brochure through the StudyAway Portal
-
Information requests has one of two destination options:
-
OGE’s main email account at
This email address is being protected from spambots. You need JavaScript enabled to view it. , OR -
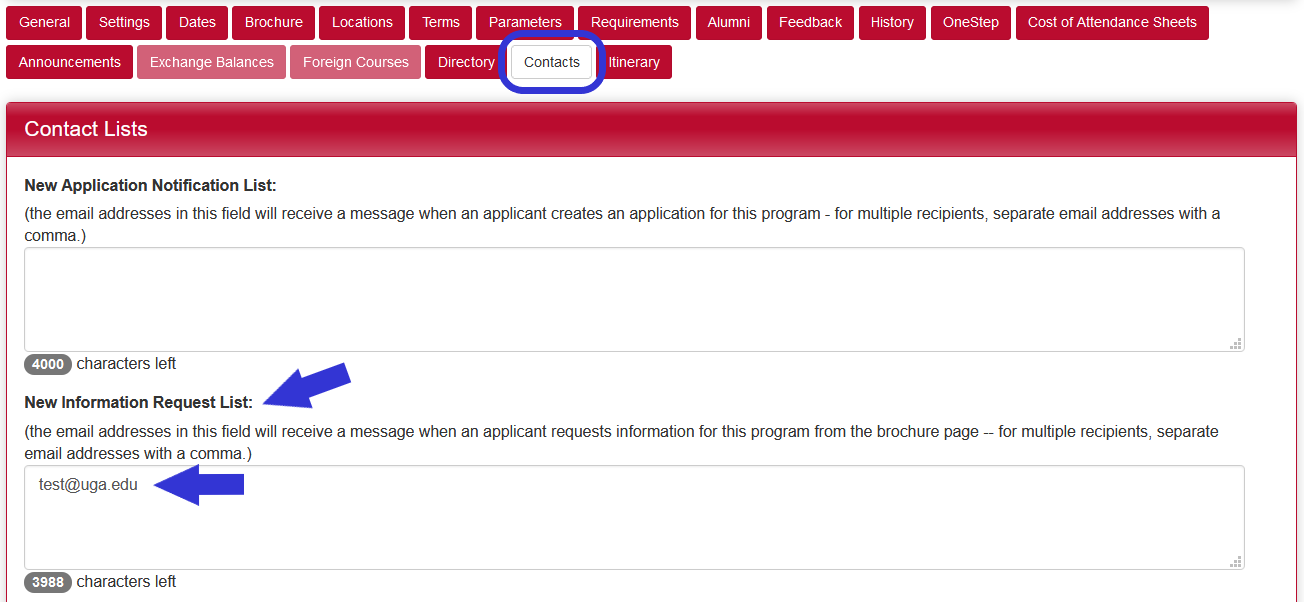
To the contact person assigned in the Contacts tab of the program builder
-
-
You can verify whether the program has a contact person assigned for information requests. If none, you may assign one in this tab
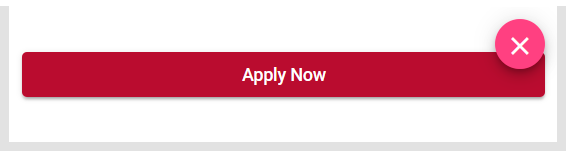
- The Apply Now Button allows users to start an application for the program
-
It is the same as the one in Action Buttons, but without the Request Info option if wanted/needed
-
The Apply Now Button is not editable
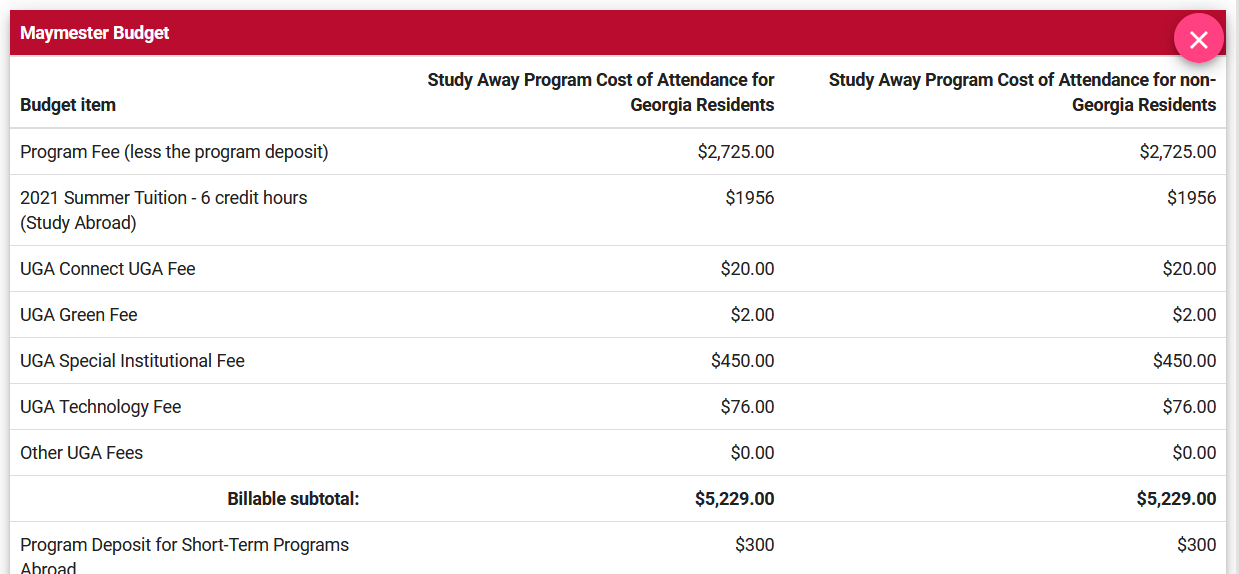
Budget Sheets (Cost of Attendance)
- “Budget Sheet” is the system’s native name for the Cost of Attendance
-
It displays the Cost of Attendance sheet created in the program builder
-
The Budget Sheet is not editable from within the brochure builder
-
If needed, edits/updates to the Cost of Attendance sheet can be done from the program builder as usual
-
Instructions on updating the Cost of Attendance sheet: Update your Cost of Attendance sheet
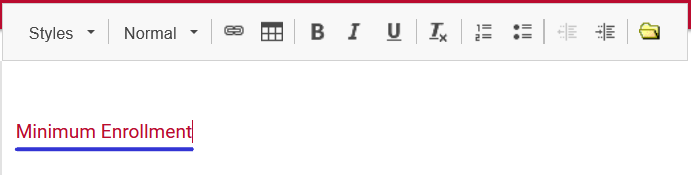
- Content houses all text/written content of the brochure
-
It also allows formatting of your text content with headers, links, tables, lists/bullets, etc.
-
A section can have one or multiple Content boxes
-
Multiple content boxes gives you more flexibility in placing/organizing texts
-

-
The Content box is editable
-
To edit Content:
-
Click on the red “pencil” icon on the bottom right corner of the content holder
-
The “edit” box will appear either on the top or bottom side of content holder
-
Type or paste the desired text in the white space provided, replacing the default Latin text within the space (or a previously entered text)
-
If your text is larger than the content holder, the holder should auto-adjust its height
-
If it doesn’t, simply click and drag the bottom edge of the holder to increase it
-
-
Format your text as needed
-
When done, click the red “check”

Formatting Tools
|
|
Adding a Document to a Brochure
- The system does not allow embedding documents, such as Word and/or PDFs, to the brochures. It does, however, allow hosting and sharing of documents on brochures as hyperlinks
-
To host and share documents, we use the Content content element:
1. Click the “folder” icon in the Content holder

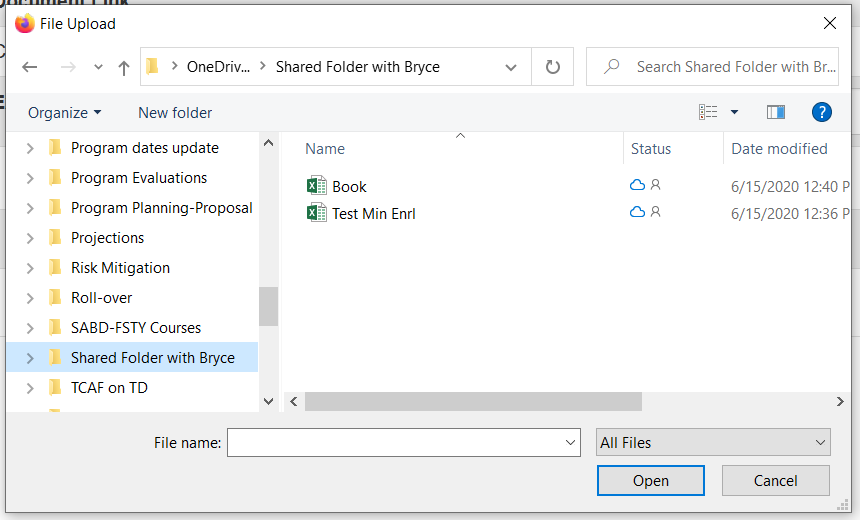
2. The “folder” icon will populate the document uploader. Click “Browse” to search for the document
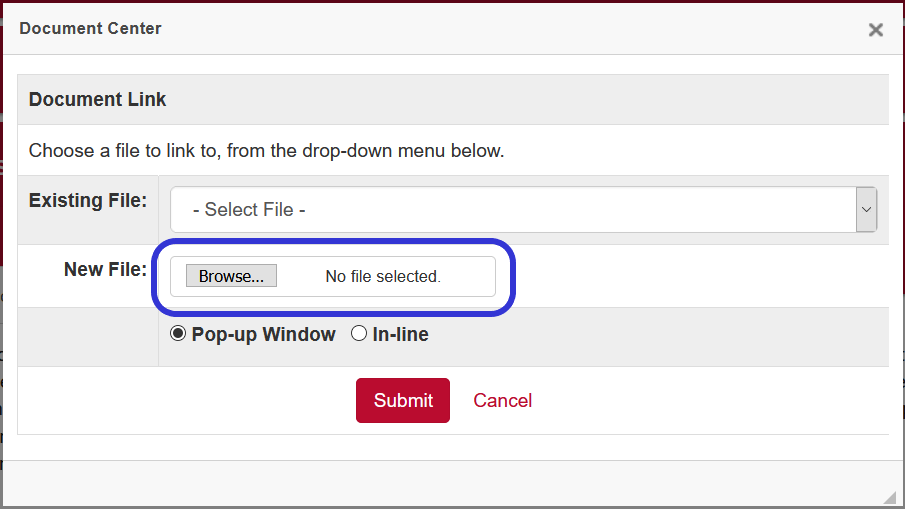
3. Select the document you wish to upload and click “Open”
4. Once selected, the document name will appear next to the “Browse” button. If the document is correct, then click “Submit”

5. The uploaded document will appear as red text

6. If you wish to change the text, you will have to put the new title within the first and last letters of the original red text
Note: the braces were added for visual purposes only and are not necessary when changing the text.
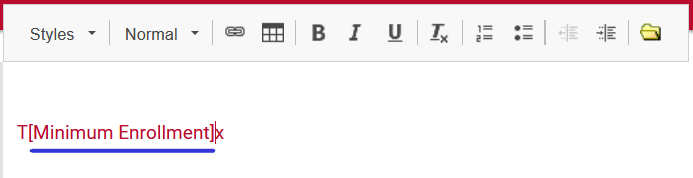
7. Then delete the rest
8. When done, click the red “check” on the bottom right of the holder
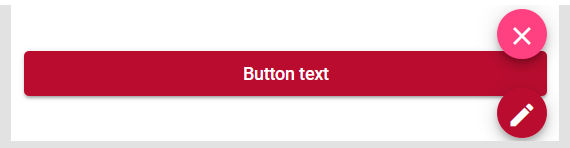
- The Custom Button allows you to create a customized button to direct the user to another website or a web-hosted document
-
In can be used along, or in lieu of the Request Info button
-
The Custom Button is editable
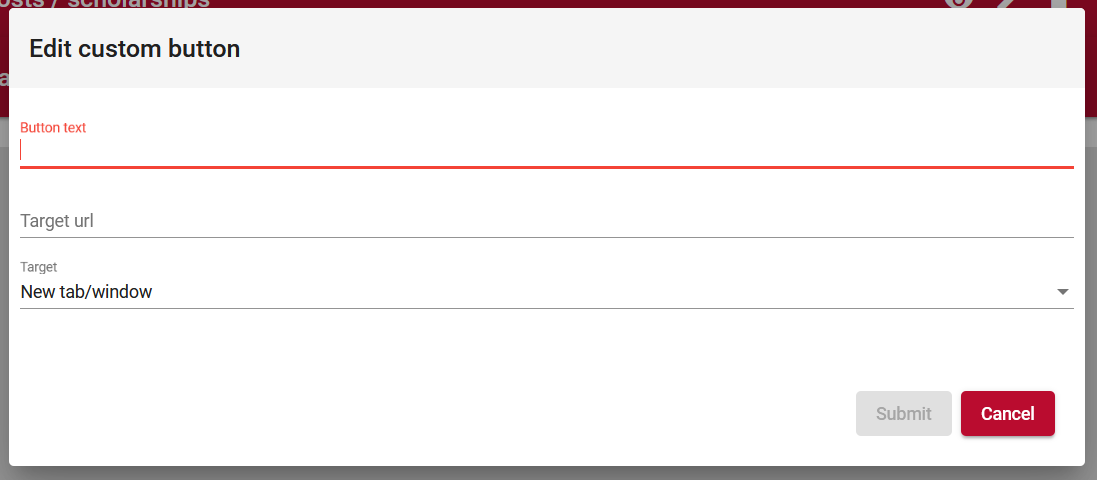
To set up or edit your Custom Button:
-
Click on the red “pencil” icon on the bottom right corner of the content holder
-
Enter the text to be displayed on the button
-
Enter the destination URL
-
Select a “behavioral” option for when the button is clicked, i.e.: same page, moving away from the current page; open a new tab; etc.
-
When done, click “Submit”
Tip: if you want to use your custom button as a “contact us” option via email, enter mailto:
This email address is being protected from spambots. You need JavaScript enabled to view it. (the desired email address) in the URL line instead.
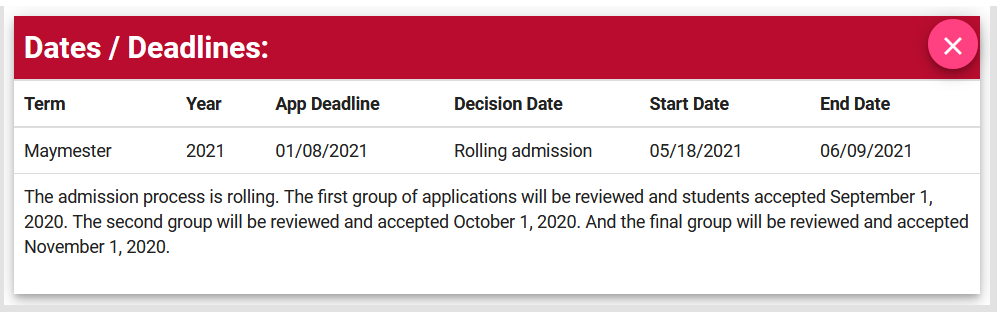
- Dates/Deadlines displays the program’s:
-
-
Term and year, application deadline, decision date, and start and end dates
-
-
If any notes were entered and enabled for viewing along with the program dates information, they will also display here
-
The Dates/Deadlines is not editable from within the brochure builder
-
If needed, edits can be done from the program builder as usual
-
Instructions on updating the Dates/Deadlines sheet: Set your program dates and/or toggle acceptance of applications
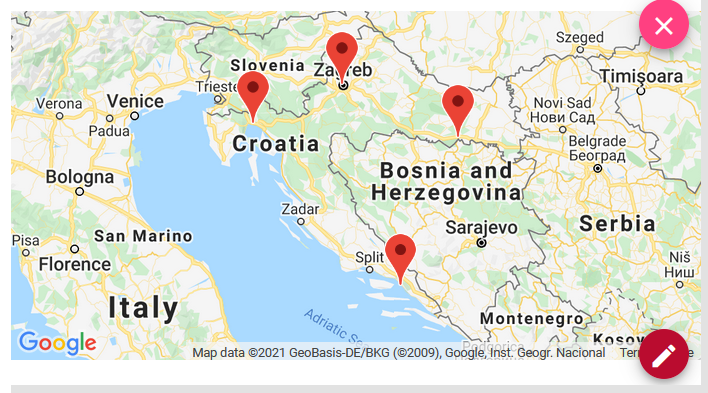
- Google Maps displays a map snippet with location pins based on the program’s assigned Location(s)
-
-
If the program does not have a location assigned, the Google Maps will show the world map instead
-
-
To change or add pins, the location(s) will need editing in the Locations tab of the program builder
-
Though limited, the Google Maps is editable
-
To edit Google Maps:
-
Click on the red “pencil” icon on the bottom right corner of the content holder
-
A ‘+' and '-’ icon will display to allow zooming the map in or out
-
When done, click the red “check”

Note: If the location pin is improperly showing on the map, please contact the StudyAway Portal Team at
This email address is being protected from spambots. You need JavaScript enabled to view it. with the program’s name and improper location. Someone with the StudyAway Portal Team will adjust the location’s coordinates in the system.
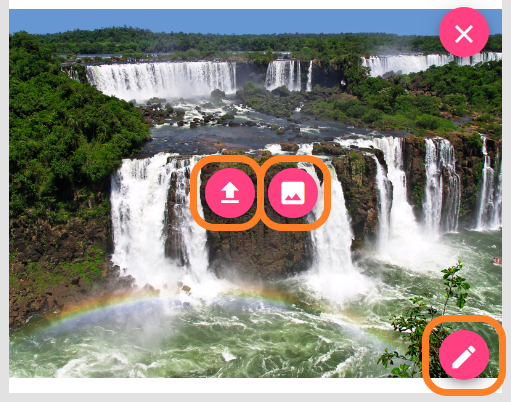
- Image, as the name suggests, holds and displays pictures and images on the brochure
-
The Image content element supports common image file types, like JPG, JPEG, and PNG
-
It does not support other file types, like PDF or video files
-
-
This content element has the picture of a waterfall by default, as seen below
-
If the image is not changed, the waterfall will remain as the default image
-
-
Image is editable

Tip: Use PNG image files, as they tend to maintain their resolution when adjusting their scale, whereas JPGs do not.
To add a image
-
For a new image, click the pick “arrow up” icon
OR -
For an existing image (already in the Portal), click the pink “mountain” icon
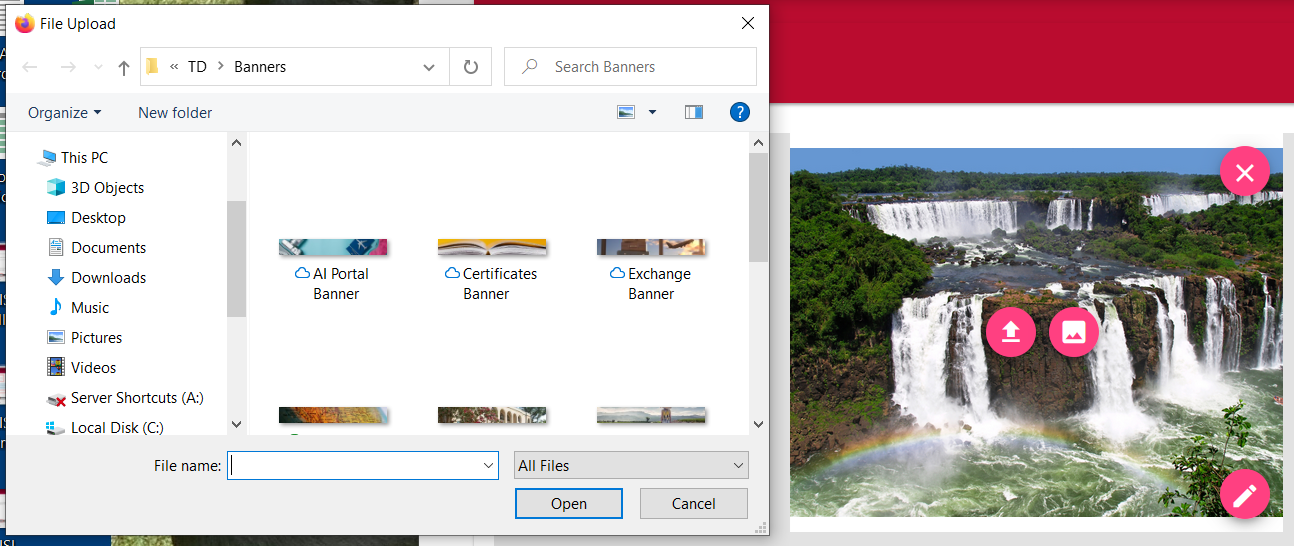
New images:
-
The “arrow up” icon will populate the document uploader.
-
Search for the desired image then click “Open”
Existing images
-
The “mountain” icon will populate the image library search box
-
Search for the image by name, or in one of the image folders.
-
A thumbnail version will appear on the right side of the box
-
Once the image is selected, click “Submit”

-
Once selected, the waterfall picture will change to the selected image
Note: if the selected image does not populate, DO NOT try to re-upload it! Re-uploads will create duplicates of it in the system.
Instead, save your progress and refresh the page and the selected image will populate.
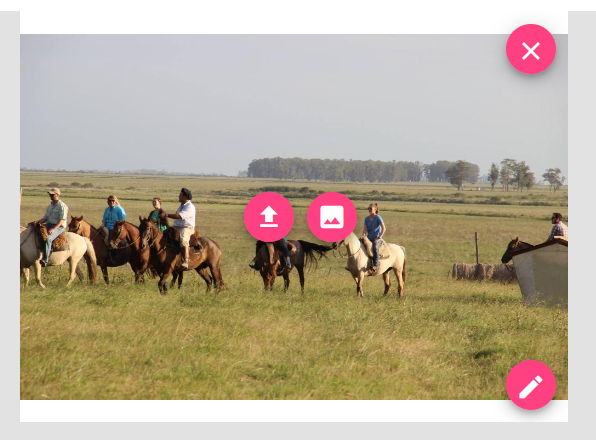
Per the Americans with Disabilities Act (ADA) standards, images are required to have an alternate text (or alt-text) for users navigating websites with screen readers, or other accessibility software
-
The alt-text should be a detailed description of the image displayed
-
Bad alt-text: People riding horses
-
Good alt-text: Students riding horses in the plains of Uruguay during a field trip
-
-
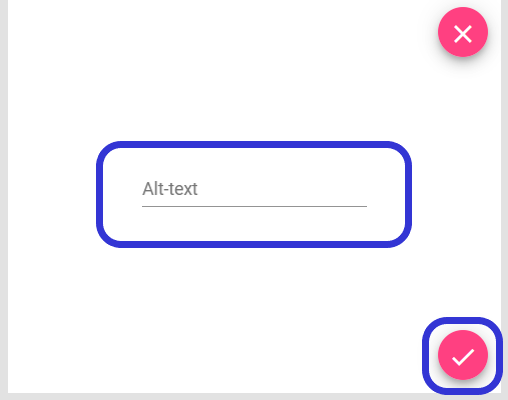
To enter alt-text:
-
Click the “pencil” icon on the bottom right of the image
-
The “pencil” icon will populate the alt-text field
-
Enter the image description in the alt-text field
-
When done, click the pink “check” on the bottom right corner
Note: images lacking proper alt-text configuration may be subject of removal by the system administrators
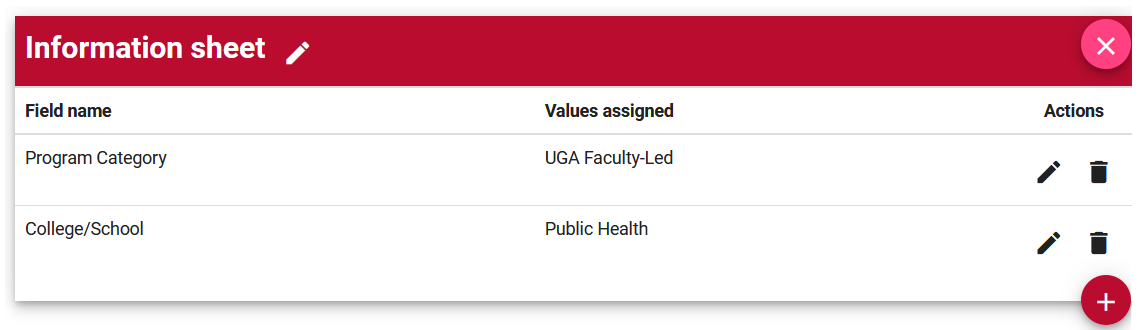
- Information Sheet displays any desired information previously assigned in the Program Parameters of the program builder
-
The Information Sheet is editable, though it is limited to adding or removing the parameters to be displayed in the sheet
Note: in case of incomplete or outdated parameters, please refer to the Update your Program Parameters article.
-
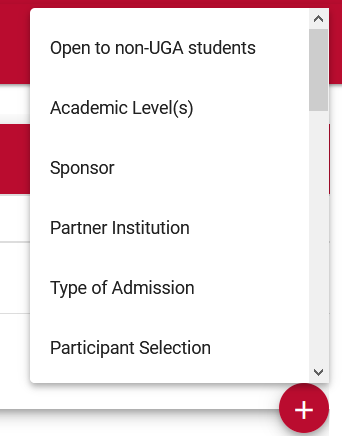
To edit Information Sheet:
-
Click on the red '+' icon on the bottom right corner of the content holder
-
A list of parameters will display; select the desired parameter
-
The selected parameter will populate within the Information Sheet
- Video allows you to embed videos into the program brochure
-
Sites like YouTube and Vimeo generally provide embed codes under the “share” feature
-
The Video is editable

-
To add a video:
-
Go to your preferred video host site
-
Find and copy the embed code for the desired video
-
Paste the embed code in the field provided
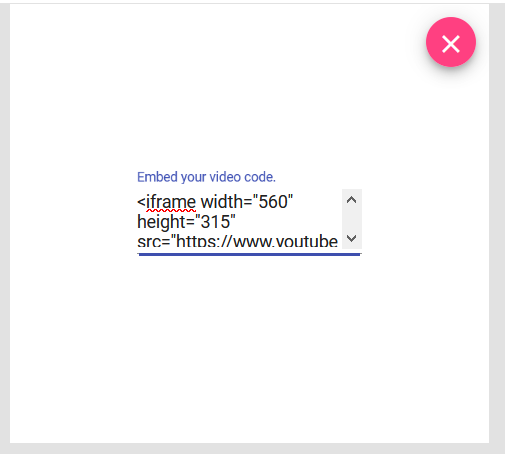
Note: the brochure builder only accepts embedding codes with the HTML <iframe> element. Non-<iframe> codes will keep the video from embedding into your brochure. Sites like YouTube and Vimeo have the <iframe> element automatically built into their embed codes.
If you have any questions or concerns, please contact:
This email address is being protected from spambots. You need JavaScript enabled to view it. .